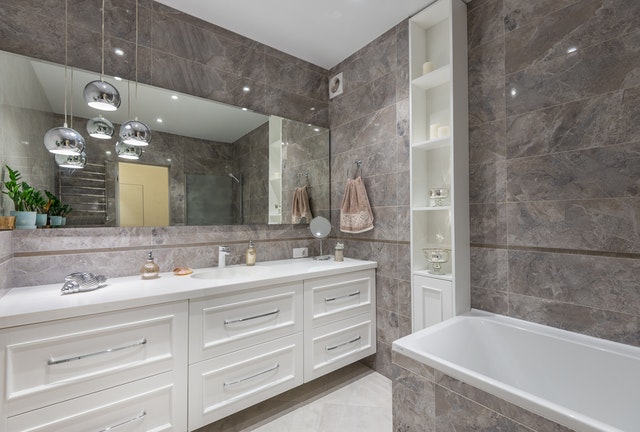
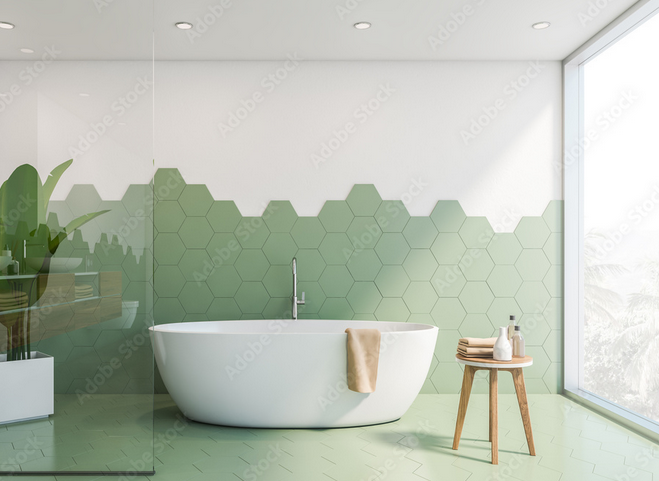
The look of a bathroom backsplash, wall or floor can be updated with peel and stick tiles. You should consider installing peel and stick tiles for surfaces in specific rooms like kitchens, bathrooms, or basements that require some much-needed care and attention, but you don’t have a lot of finances or time to put into installing a tile wall or floor.
Peel and stick tiles can be used on concrete, ceramic, existing linoleum, painted drywall, and many other popular floor and wall materials.
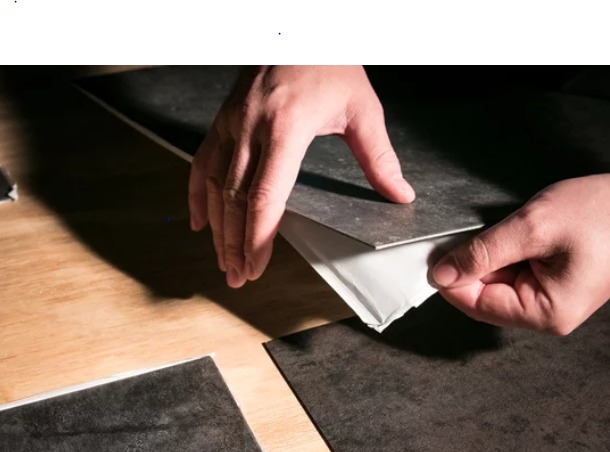
The installation process is simple and easy, so much so that many DIY enthusiasts can do it without any help from a professional.
Peel and stick tiling may be created using metal, glass, or vinyl. The self-adhesive backing of these tiles allows simple and quick backsplash or floor installation on a wide range of surfaces.
However, if didnt plan or measure the area of your bathroom wall, or if the surface isn’t well-prepared, the strong adhesive on the backing of these tiles may cause issues.
These problems include patterns that are inconsistent, tiles that are twisted, cracked tiles and broken tiles.
Keep reading to learn how you can use peel and stick tiles and how to avoid these problems.
What Surfaces Can You Install Peel and Stick Smart Tiles On?
There are certain surfaces that are not ideal for this type of tiles because they prevent the tiles from adhering to the backsplash or wall. This is why it’s extremely crucial to be keen when selecting the kind of surface for peel and stick tiles. Below is an overview of some of the surfaces that we advise against as well as recommend for installing peel and stick tiles.

Reminder: Before proceeding with installation, it is important to properly prepare the floor or wall. A tile usually clings to a smooth and flat surface.
If needed, use a degreaser to wipe the floor or wall after scraping or sanding away any protrusions or old adhesive that may prevent the tiles from properly sticking to the surface.
On many common floor and wall surfaces, including concrete, ceramic, old linoleum and painted drywall, peel and stick tiles can be installed.
However, you must ensure that the grout joints are level with the top edge of the tile if the tile is being installed over marble or ceramic surfaces. If you fail to do this, the tiles will stick to the dents, creating an undesirable effect.
On top of offering a breeding ground for mildew and mold, these gaps may cause the tiles to disconnect from the wall.
Before installing these tiles, it’s recommended to fill the grout lines with some additional grout to create a smooth, clean and even surface.
Although peel and stick tiles are very easy to install, users who start the process without first preparing the surface or measuring the space will often make mistakes.
Stick On Floor Tiles
The extended working life of the stick on floor tiles makes it possible to move the tiles both during the day and night. Several weeks after installations, peel and stick tiles have a tendency to curl and loosen at the edges.
In contrast, stick on stone floor tiles rarely curl up or break loose on their own.
The underlayment and subfloor must be flawless: self-adhesive peel and stick tiles require completely smooth and dry subfloors to prevent future problems.
Even though you should always carefully prepare the surface and use putty and levelers to fix any flaws before putting glue-down vinyl, the separate adhesive may conceal some flaws.
Nevertheless, you must always carefully prepare the surface and use putty and levelers to fix any problems you identify.
Recommended Surfaces for Peel and Stick Smart Tiles
Peel and stick tiles may be installed on any smooth and even surface of your bathroom without any issues. So, a non-textured backsplash or wall is ideal for this type of tiles because the tiles will have sufficient grip.
Here is a list of some of the surfaces that are suitable for Peel and Stick Smart Tiles:
• wallpaper
• mirror
• wall linoleum
• wall panel (acrylic)
• smooth glass tiles backsplash
• smooth ceramic tiles backsplash
• painted gypsum (the paint must have been applied at least 21 days prior to the installation)
Smooth ceramic tiles with small grout lines and joints are excellent for peel and stick tiles.
No additional preparation is required on such smooth surfaces. With a proper cleaning, these tiles will adhere to your bathroom or kitchen backsplash for as long as you wish.
Surfaces that are Not Recommended for Peel and Stick Smart Tiles
Some types of surfaces may take away from the beauty of the backsplash, and others can compromise the adherence of the Smart Tiles. This is why we recommend avoiding certain kinds of surfaces.
Porous and Dusty Surfaces
Crumbling, porous, or dusty surfaces will negatively affect the durability of the peel and stick tiles. On these types of surfaces, the tiles will adhere to the dust instead of the underlying surface. The Smart Tiles won’t have a firm grip to the wall and risk falling on your bathroom or kitchen floor!
Here is a list of some common porous and dusty surfaces that should be avoided:
• unpainted plywood
• unfinished wall (plaster or gypsum)
• stone wall
• brick wall
• stucco wall
Peel and stick Smart Tiles won’t adhere properly to most of these surfaces but, with some extra preparation, they will.

Places Where Peel and Stick Smart Tiles are Not Recommended
Peel and stick tiles should not be installed in places where there is a likelihood of them being used as a work surface or submerged in water like in shower. It is also not recommended to install them where they may be in direct contact with flames or steam.
With that said, we don’t recommend install these tiles:
• on the ceiling
• on the floor
• on the countertop
• in the shower
Despite these constraints, peel and stick tiles can be installed on a fireplace mantel, in a kitchen or in a bathroom.
Use Gentle Heat for Easier Removal
It’s important to replace old Smart Tiles before installing a new wall, backsplash or floor to ensure that the surface is smooth and clean for the best results. Newly installed tiles should also be replaced if they become broken, chipped or loose, but the strong adhesive that comes with the tiles can complicate the removal process.
To ensure that you don’t damage the floor or wall behind the tiles, use a hairdryer or heat gun to apply gentle heat to the tiles you wish to remove. The heat will loosen the adhesive and increase the flexibility of the tile, making the removal process easier. You can use a putty knife to loosen the adhesive without damaging the surface of the bathroom floor or wall, though the remaining adhesive will need to be scraped or sanded from the surface before new tiles can be installed.
For more information contact Majestic small bathroom remodel service at (727) 308-2512.