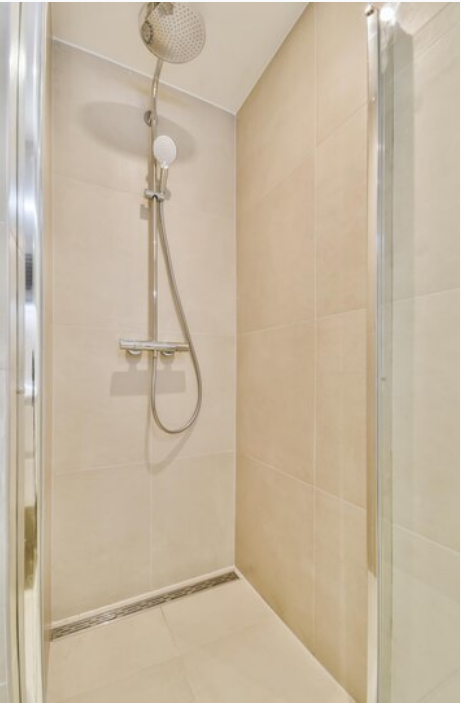
Why seal a shower enclosure?
If you have a shower enclosure in your home, it’s important to keep it properly sealed. It provides a barrier that helps to prevent water from damaging other areas of your bathroom. Water can cause mold and mildew to grow, and it can also damage finishes on fixtures and surfaces. By keeping your shower enclosure properly sealed, you can protect your bathroom from water damage. In addition, it will keep water inside the shower, where it belongs. This can prevent costly leaks, and it can also make your shower more comfortable to use.
Reasons for leaking shower enclosures
Shower enclosures are designed to keep water contained within the shower space, but they can sometimes leak. The sealant around the edges of the enclosure may not be properly applied, allowing water to seep through. Sometimes, the shower door may not fit snugly against the enclosure, creating a gap through which water drips. Moreover, the caulking or grout around the perimeter of the shower may crack or come loose, again allowing water to escape.
Why is it important to seal a shower unit?
Your shower unit needs to be properly sealed in order to prevent leaks. Leaks can cause serious damage to your bathroom and home, and they can be very expensive to repair. A leaking shower can also lead to mold and mildew growth, which can be harmful to your health. That’s why it’s so important to make sure that your shower unit is properly sealed.
Types of insulation
Some of the most common types of insulation used in sealing shower enclosures are as follows:
1. Liquid insulation film – Liquid insulation film is one way to create a waterproof barrier around your shower. To use this type of film, simply clean the surface you want to seal, then peel off the backing and apply the film. Once it’s in place, use a hair dryer to heat the film and make it shrink-wrap around the surface.
2. Insulation tape – Cut a piece of insulation tape to size and apply it to the edge of the shower door or wall, making sure that the adhesive side is facing out. Once in place, press the tape firmly into place and smooth out any air bubbles.
We make sure that the areas under the wall are covered properly with insulation tape so that the shower enclosure doesn’t leak. It is always wise to keep the fungicidal properties of the sealants in mind before purchasing them to avoid moldy silicone strips later.
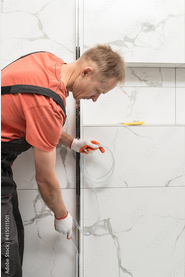
3. Sanitary silicone – Sanitary silicone is a versatile and durable sealant that is often used in bathrooms and kitchens. When properly applied, it can create a waterproof barrier that will keep moisture out and prevent mold and mildew from forming. In order to get the best results, it is important to use a high-quality silicone product and to follow the manufacturer’s instructions carefully. First, the area where the silicone will be applied should be clean and dry. Next, a small bead of sealant should be placed around the perimeter of the shower enclosure. The sealant should then be smoothed with a wet finger or spatula, taking care not to leave any air bubbles. Once the silicone has dried, it will create a watertight seal that will last for years to come.
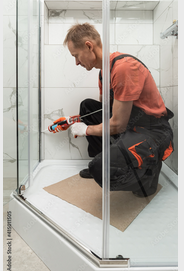
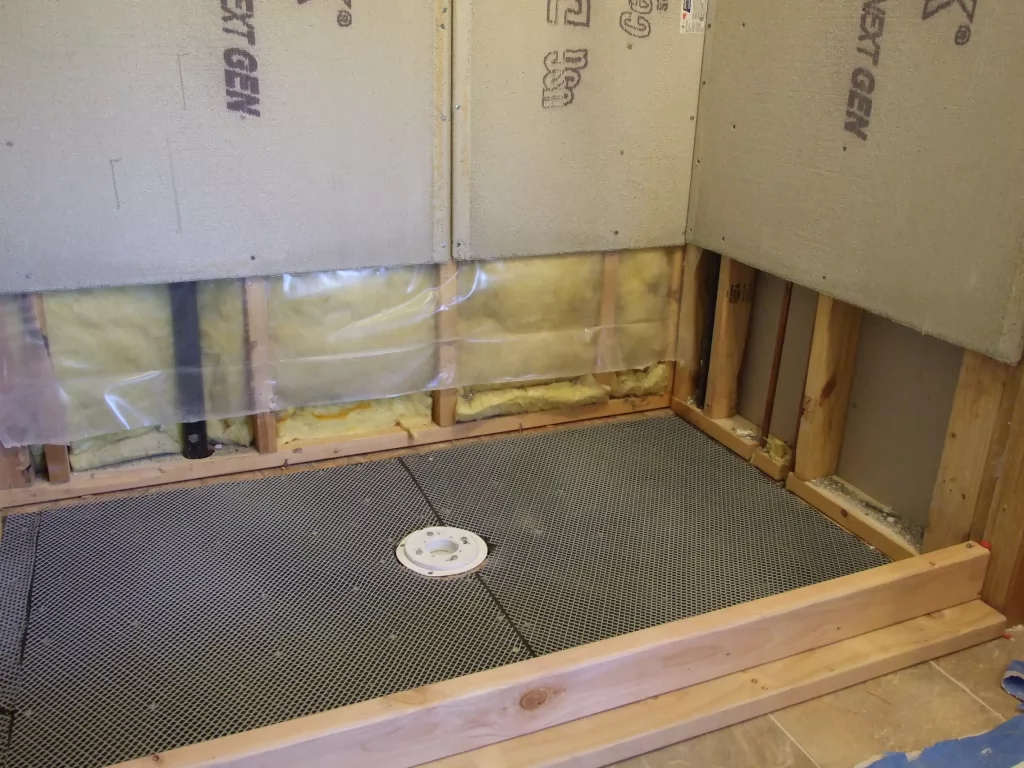
How to seal the connection between the wall and the shower base?
When you are ready to install your new shower base, it is important to seal the connection between the wall and the base. This will help to prevent water damage and ensure a long-lasting, watertight seal. The first step is to apply a layer of silicone caulk around the perimeter of the base. Then, using a putty knife, smooth the caulk so that it is flush with the surface. Next, place a bead of caulk along the seam where the wall and base meet. Once again, use the putty knife to smooth the caulk into place. Finally, apply a layer of tape over the caulked area. This will help to hold everything in place until the caulk has time to set. According to Local Technician, sanitary silicone is the best material that can seal the connection between the wall and the shower base. However, you must replace silicone grout after every few years so that it doesn’t lead to molds and mildew.
How to seal the cabin wall-to-wall joint?
When it comes to sealing a cabin wall-to-wall joint, there are a few things you need to take into consideration.
● First, you will need to choose the right sealant for the job. There are many different types of sealants on the market, so it is important to select one that is specifically designed for use on cabin walls.
● Next, you will need to properly prepare the surface before applying the sealant. This means cleaning the area and removing any dirt or debris.
● Once the surface is clean, you can then apply a thin layer of sealant using a brush or roller. Be sure to smooth out any bubbles or uneven areas.
● Lastly, allow the sealant to dry completely before using the shower enclosure.
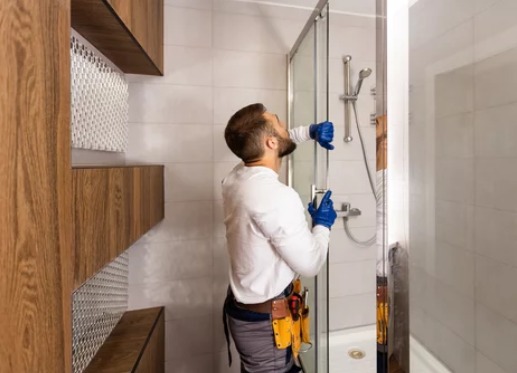
Importance of maintaining the shower unit!
It is essential to maintain the shower unit on a regular basis. This means cleaning the showerhead, checking the drains, and making sure that the tile and grout are in good condition. A few minutes of maintenance each week can help to prolong the life of the shower and prevent expensive repairs down the road.
Is it wise to seal the shower unit before installing it?
Sealing the shower unit prior to installation is always a good idea. Sealing means caulking or waterproofing the cracks between the tiles and where the shower lip meets the wall. This can be done using a silicon-based sealant, which will provide long-lasting protection against water damage. It will create a barrier that will prevent water from seeping through and causing mold or mildew to grow. In addition, it will also help to improve the overall appearance of the shower by giving it a neater finish. Moreover, sealing the shower unit will make it easier to clean as there will be no dirt or grime build-up in the cracks and crevices.
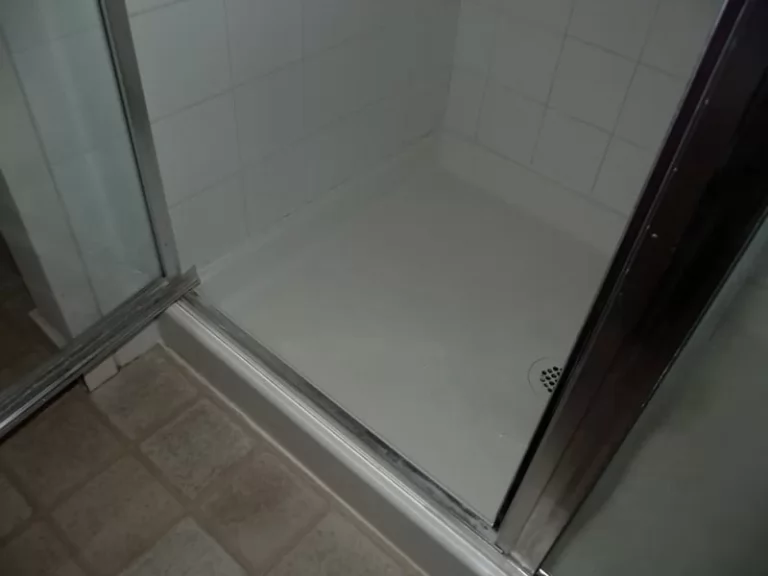
Preventing water leaks from shower enclosures
Water leaks in shower enclosures are a common problem in many households. Not only are they unsightly, but they can also cause serious damage to your home if left unrepaired. There are a few simple methods you can use to prevent water leaks in your shower enclosure. First, make sure that the gap between the bottom of the door and the threshold is sealed with silicone caulking. Second, check the weatherstripping around the door for signs of wear and tear. If necessary, replace the weatherstripping to create a tight seal. Finally, inspect the door sweeps and gaskets for cracks or breaks. If any damage is found, these parts should be replaced to prevent water from leaking through.
For more information contact Majestic small bathroom remodel service at (727) 308-2512